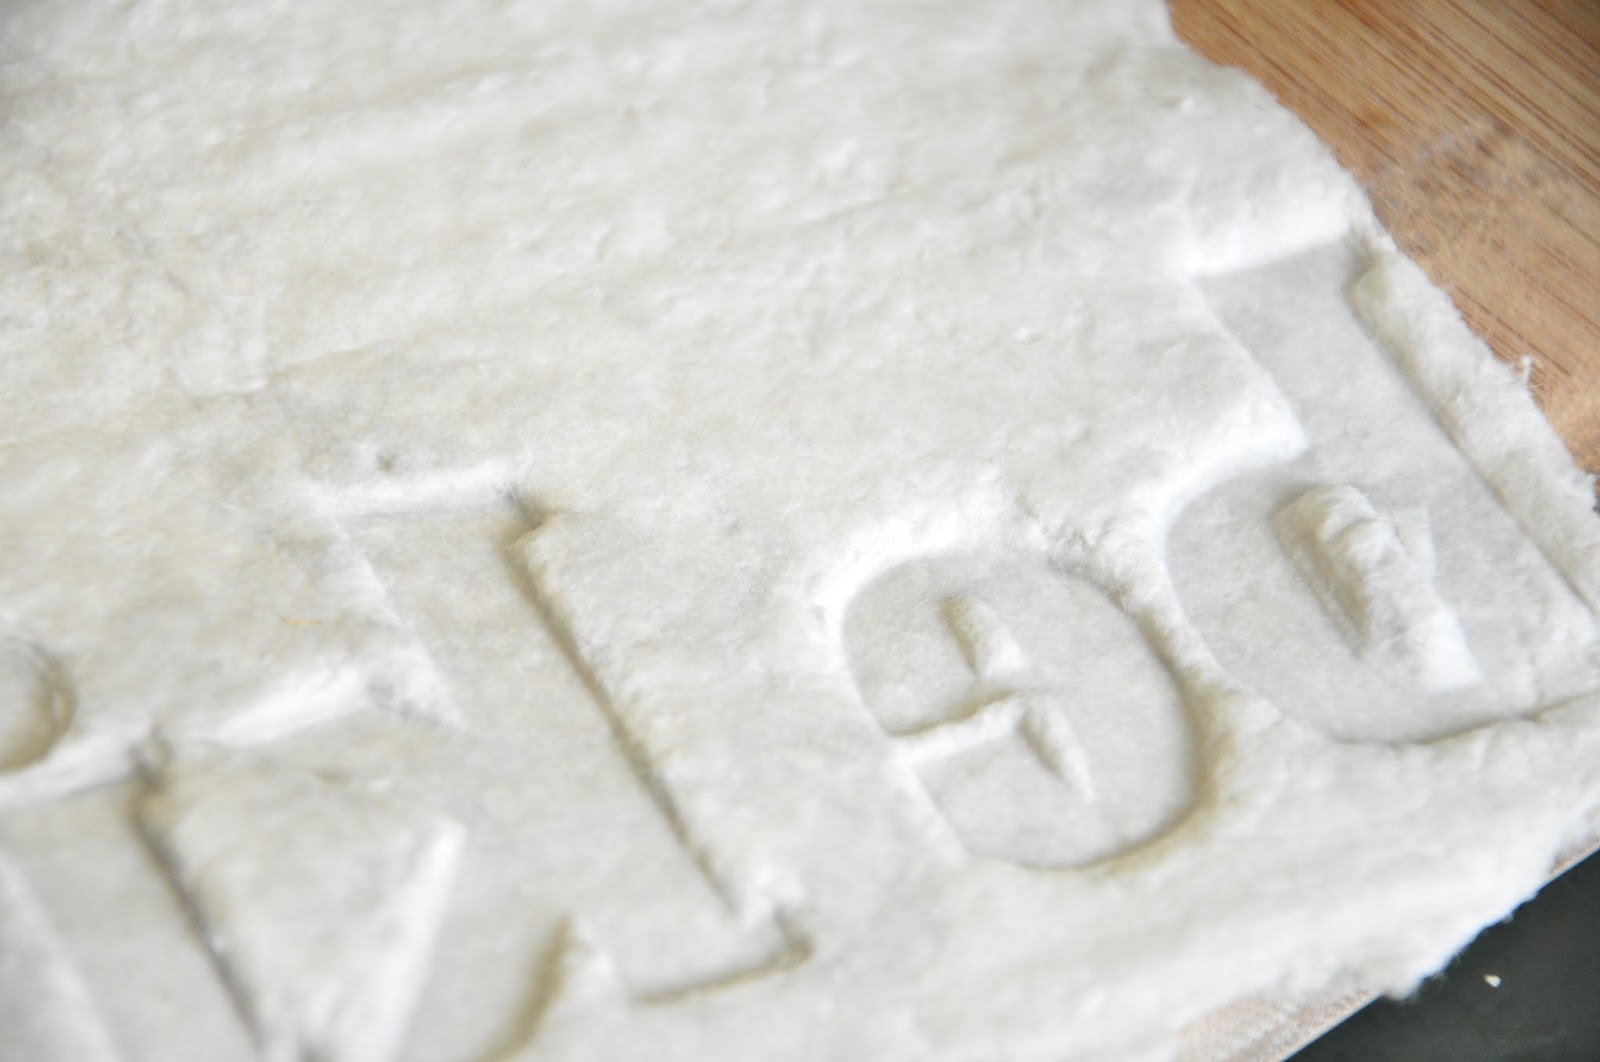
Embossing: Toadstool

Notice the extra hand sneaking in there!
It's a beautiful art project that is actually quite easy and has very professional results. The mold takes the most time to make, but you can create many pieces from the same mold.

Soft, handmade paper works very well. It's thick weave allows for some water saturation.
We had some scrap pieces on hand (though I would love to make some of our own!)

Thin cardboard is best for cutting out your mold.
We use cereal boxes which are always readily available in our home!
I explained to O that it's helpful to draw a simple shape, as it has to be cut many times over and sharp little corners might not show up as well when pressing paper.
She designed this little toadstool.
We cut and mounted four on top of one another and placed it in the corner of a cardboard rectangle.

We then wet the paper (this paper was heavy duty and could take a full soak under running water!).
Pat the excess water on a towel and place the paper over the mold for pressing.

Once O started pressing sheets and seeing results, she couldn't get her hands on enough wet paper.
She was in production mode!
When I ran out of paper, she decided to press several toadstools into one piece, which added interest.

In Waldorf education, the 'teacher' is set to carry out her own work on a daily basis; cooking, cleaning, prepping for an activity and using her hands to create. Children instantly are drawn to the activities that interest them and the teacher then has materials on hand to allow the child to help.
When I set out the embossing activity, it was completely with selfish motivations; I had a project of my own to work on, that was irresistible to O. We worked alongside one another, chatting about our processes and products, looking at each others work to improve upon our own.